DESIGN & PLANT THE PERFECT
GARDEN BORDER
Do you want a garden that looks colourful no matter what season it is, but not sure how to achieve this? We've made it easy with our step-by-step gardening guide...
BEFORE YOU PLANT
Skinny beds of just 30-60cm (1-2ft), for example, will only provide space for one or two plants, so when they have stopped flowering, there may be nothing else to look at.
Make a list of the plants you like
You can find lots of inspiration here, in books or in-store. Check when they flower or fruit, and include plants for each season as well as a few evergreens. Also check the plants’ full height sizes: some may look quite small when you buy them in spring, but could grow up to a metre (3ft) within weeks.
Finally, sketch your garden design plan
On a piece of paper draw out the shape of the border you want, where you plan to plant each flower, tree or shrub, and don't forget to place the tallest at the back.
Shop Plants
Now you're ready to follow our simple planting guide...
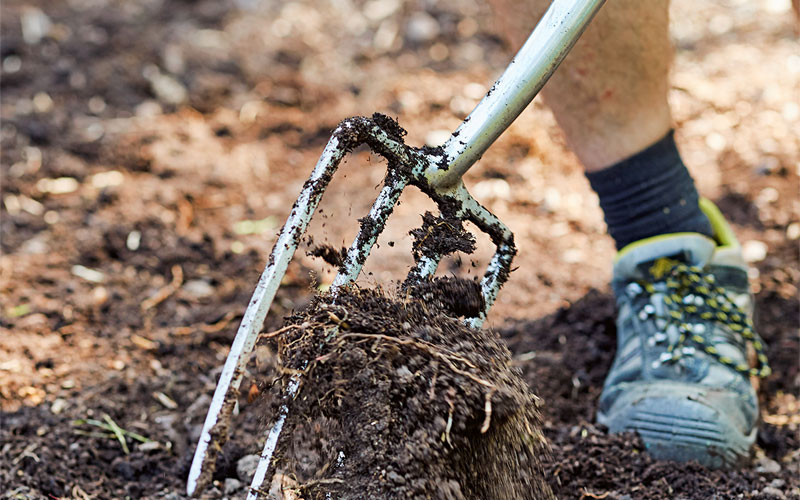
1. Mark out a border, remove any turf, dig over the soil, and fork in well-rotted mature.
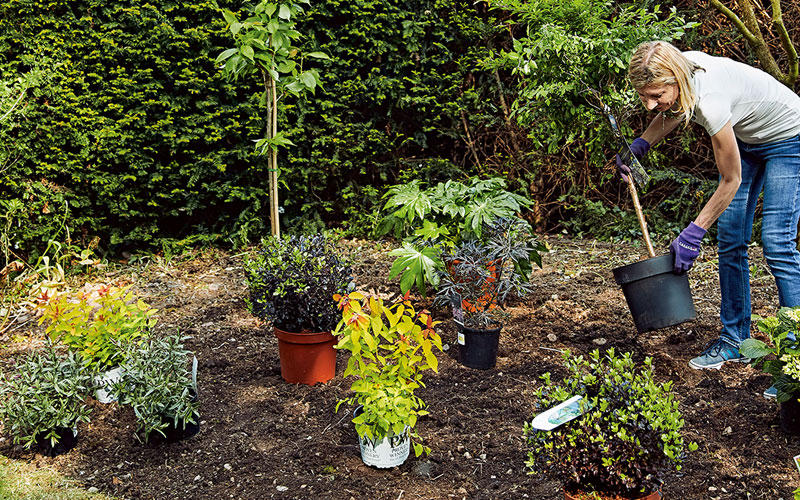
2. Set out your plants on the bed. Put large plants at the back and leave space for growth.
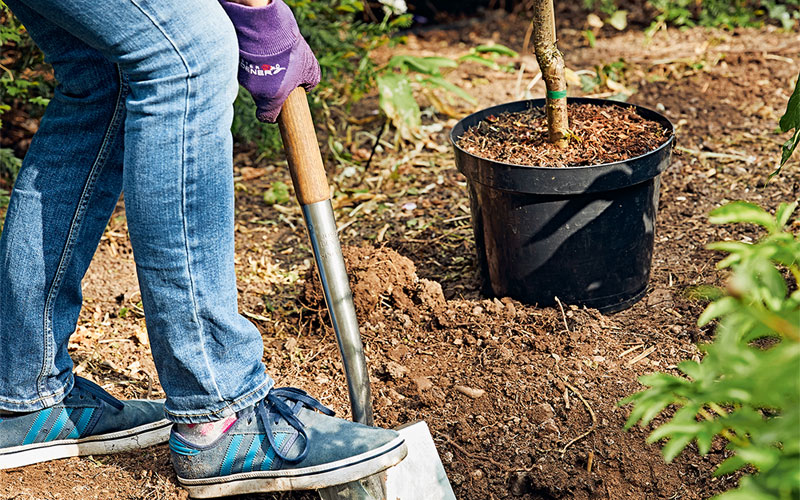
3. Dig a large hole for each plant, about twice as wide as the pot and just a little deeper.
4. Gently take plants from their pots. Tease out any congested roots, place back in the hole and backfill.
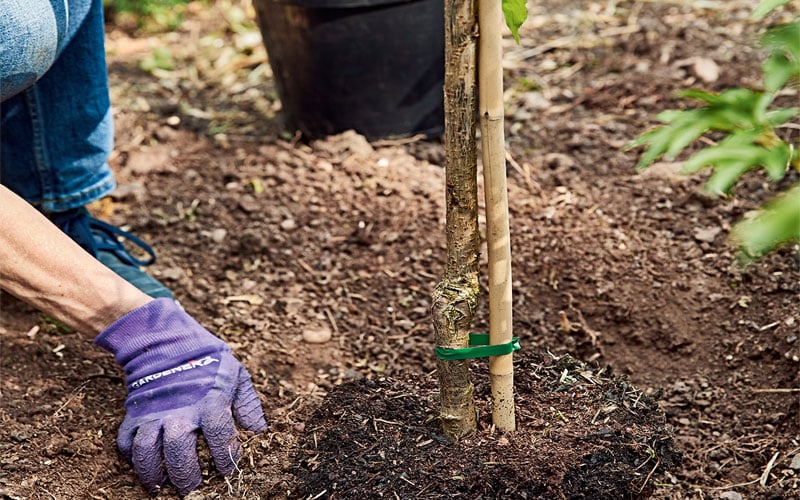
5. Make sure the plants are planted at the same depth as they were in their original pots.
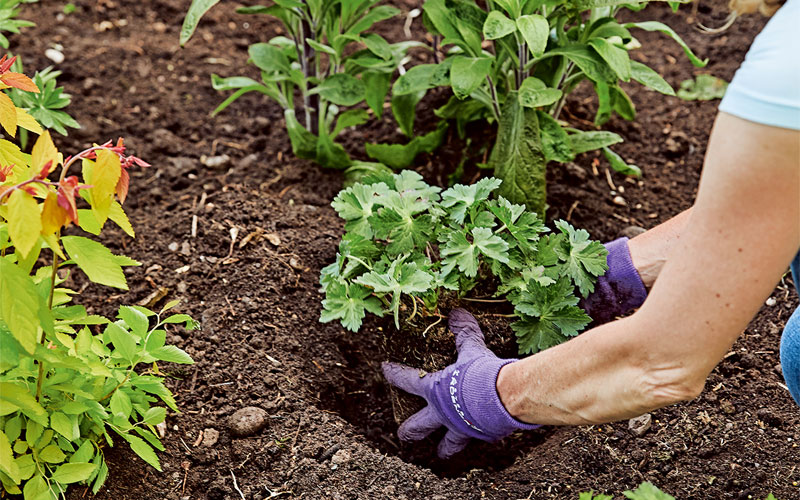
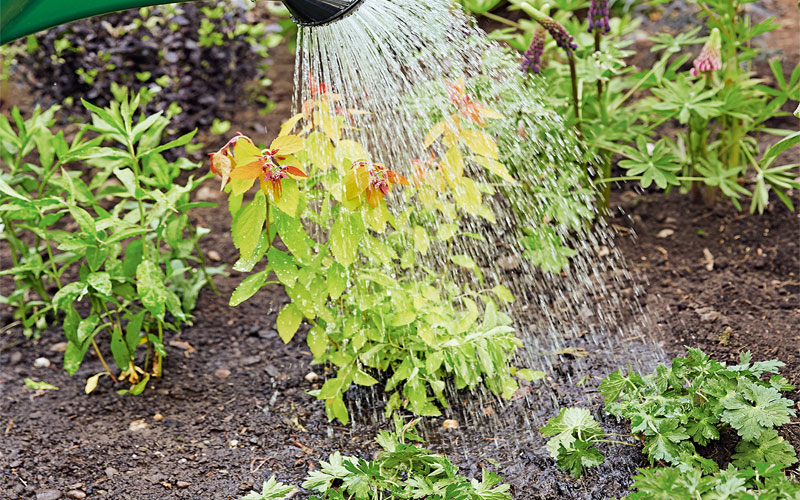
6. Firm the plants in with your foot to remove air gaps. Then water each plant, soaking the soil.
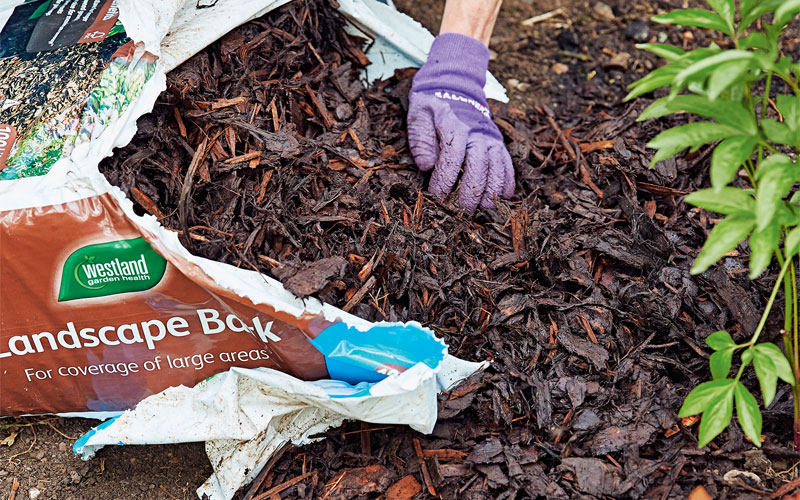
7. Add a 5cm (2in) layer of bark (mulch) to help suppress weeds and retain soil moisture.
Now, step back and admire your newly planted border.
Shop Plants


