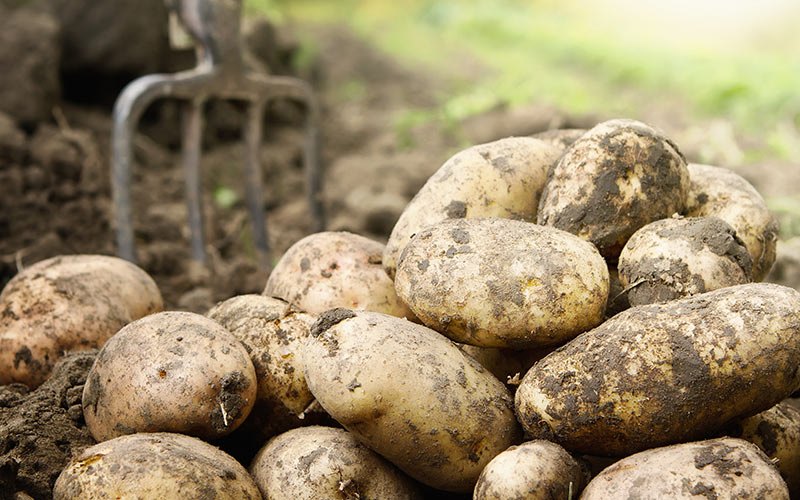
GROW YOUR VERY OWN POTATOES
Nothing rivals the taste of freshly harvested home-grown potatoes, and growing them for yourself is easier than you might think. Wheteher you want a new family project to complete together, or are a keen cook who wants to grow produce in their own garden, our simple guide will help you to grow your very own potatoes, whatever the size of your garden.
Step 1: Choosing your seed potatoes:
Let’s start with the basics! What are seed potatoes? These are the potatoes from which your crop will grow. There are different varieties of potatoes available which need to be planted and harvested at different times of year, and will produce different yields.
You can choose between first earlies, second earlies, maincrops and late maincrops. These categories correspond to the time that the potatoes will be ready for harvest, and are loosely a guide to what to use them for. Early potatoes tend to have a waxier texture, hold their shape when boiled and are great for salads. Maincrop potatoes tend to be better for roasting due to their larger size and more floury texture. First earlies are normally ready to dig up from June to July. Second earlies are generally ready from July – August, Maincrops from August and late maincrops from September onwards.
Shop Now
Step 2: Ground versus bag:
If you would like to grow potatoes but you are concerned you don't have enough space then do not fret! Of course, if you have room you can plant your potatoes in the ground but you can also grow them in bags which are ideal for balconies, patios or more compact gardens.
Step 3: Let your potato sprout:
'Chitting' is the process of encouraging young shoots to grow before planting and is particularly effective for 1st & 2nd earlies. Chitting allows you to get the best out of your seed potatoes by encouraging strong shoots to sprout over several weeks allowing for faster growth and more generous crops once they are in the ground.
Step 4: The basics of Chitting:
Place your seed potatoes “Rose End” uppermost in a seed tray half filled with dry sharp sand or vermiculite. Do not water at this point. Place the seed trays in a cool, bright position (10C/ 50F) to allow them to sprout. A North facing window ledge or unheated conservatory is ideal, but they must remain frost free.
Step 5: Get ready to plant:
After 4-6 weeks you should have strong, purplish green shoots about 1” (2.5cm) long. They are then ready to plant out in your potato bag or ground, providing the weather is warm enough.
We hope you have fun preparing your seed potatoes ready to plant. Share photos of your seed potatoes progress with us, Facebook Twitter Instagram